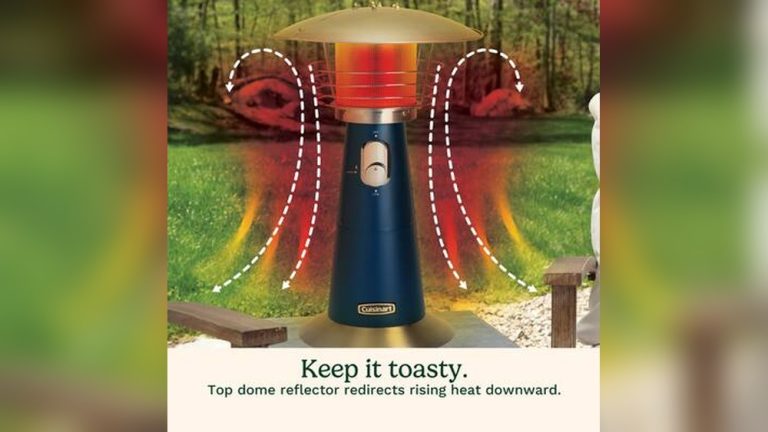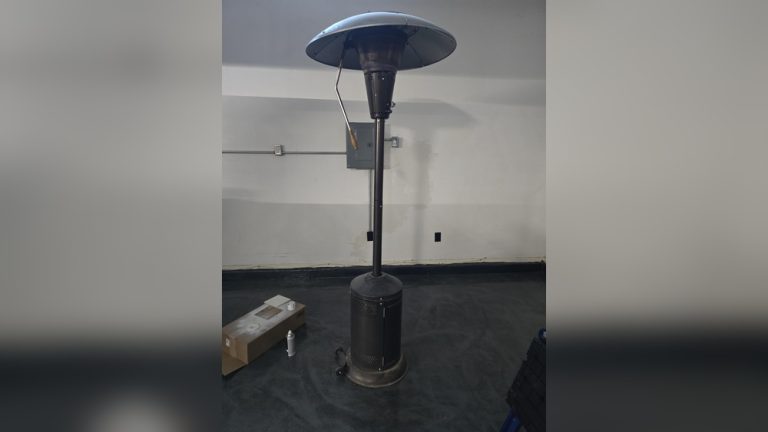
Is your patio heater not lighting up like it used to? One common reason could be a dirty thermocouple.
If you want your heater to work safely and efficiently, keeping the thermocouple clean is key. In this guide, you’ll learn simple, step-by-step methods to clean your patio heater thermocouple. By following these easy tips, you’ll save money, avoid frustration, and enjoy a warm outdoor space whenever you want.
Keep reading to find out how you can fix your heater quickly and get back to relaxing outside.
Why Clean The Thermocouple
Cleaning the thermocouple in your patio heater is a simple step that improves its safety and performance. Dirt and debris can block this small but important part, causing problems in how the heater works. Keeping the thermocouple clean helps your heater run smoothly and safely every time you use it.
Role In Patio Heater Safety
The thermocouple acts as a safety sensor in your patio heater. It detects if the pilot light is on. If the flame goes out, the thermocouple tells the gas valve to close. This stops gas from leaking and causing danger. A clean thermocouple can sense the flame properly. This protects your home and family from gas leaks and fire risks.
Common Issues From Dirt
Dirt and soot can cover the thermocouple’s tip. This makes it hard to detect the flame. The heater may shut off unexpectedly or fail to light. A dirty thermocouple can cause the pilot light to go out. This leads to cold evenings and wasted gas. Cleaning removes buildup and keeps the heater reliable. It also extends the life of your patio heater.
Credit: www.efireplacestore.com
Tools Needed For Cleaning
Cleaning a patio heater thermocouple needs the right tools. Having these tools ready makes the job easier and faster. You can avoid damage to the thermocouple by using the correct supplies. Two main categories of tools are essential: basic cleaning supplies and safety gear. Each plays a vital role in the cleaning process.
Basic Cleaning Supplies
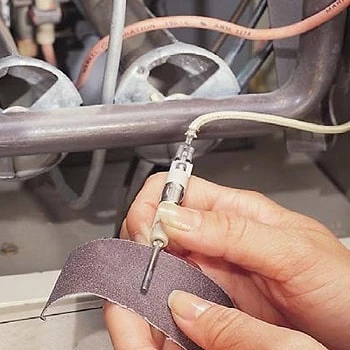
Gather a soft cloth to wipe dirt and dust gently. A small brush helps remove stubborn debris from tight spaces. Use fine-grit sandpaper to clean the thermocouple tip carefully. A can of compressed air can blow away loose particles. Rubbing alcohol or a mild cleaner helps remove grease and grime. Avoid harsh chemicals that can damage the thermocouple.
Safety Gear
Wear protective gloves to keep your hands safe from dirt and chemicals. Safety glasses shield your eyes from dust and debris. Work in a well-ventilated area to avoid inhaling fumes from cleaners. Use a mask if dust or particles become airborne during cleaning. Safety gear protects you and ensures a smooth cleaning process.
Preparing The Heater
Preparing your patio heater before cleaning the thermocouple is important for safety and efficiency. Taking a few careful steps helps prevent accidents and ensures the heater works well. Follow these simple instructions to get ready.
Turning Off Gas And Power
First, turn off the gas supply to the heater. Locate the gas valve and close it completely. Next, switch off the power source if your heater has an electric ignition. This step stops any accidental sparks or gas leaks. Always double-check that both gas and power are off before you start cleaning.
Locating The Thermocouple
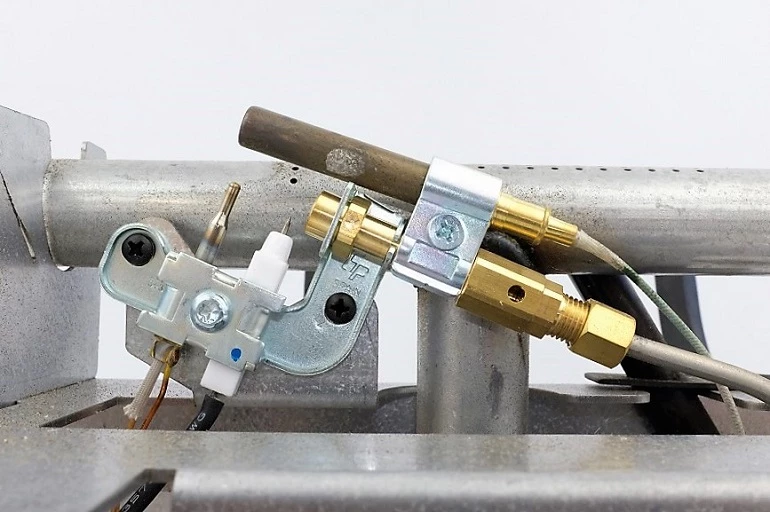
The thermocouple is a small metal rod near the burner. It senses the flame and controls the gas flow. Usually, it is attached to the burner assembly and connected to the gas valve. Use a flashlight to see clearly inside the heater. Knowing exactly where the thermocouple sits makes cleaning easier and safer.

Credit: www.youtube.com
Cleaning Steps
Cleaning your patio heater thermocouple is simple and important. Follow clear steps to keep it working well. This section shows easy ways to clean the thermocouple safely. Each step helps avoid common problems and keeps your heater efficient.
Removing Debris
First, turn off the heater and let it cool. Use a soft brush or cloth to clear dust and dirt. Check for cobwebs or leaves around the thermocouple. Removing debris stops blockages and ensures good heat flow.
Wiping The Thermocouple
Next, gently wipe the thermocouple with a damp cloth. Avoid soaking it with water. Use mild soap if the dirt is tough. Dry it carefully with a clean cloth to prevent rust or damage.
Checking For Damage
Finally, look closely for cracks or bends on the thermocouple. Damaged parts need replacement to keep the heater safe. Inspect the wire connections for looseness or wear. Fix any issues before using the heater again.
Reassembling And Testing
After cleaning the thermocouple, reassembling and testing the patio heater is crucial. This step ensures the heater works safely and effectively. Careful reassembly avoids damage and maintains performance. Testing confirms the thermocouple functions as it should. Follow the steps below to complete the process.
Putting Parts Back
Start by placing the thermocouple back in its position. Tighten screws without overdoing it. Replace any covers or panels removed during cleaning. Ensure all parts fit snugly and securely. Check the gas line connection for leaks or loose fittings. Use a wrench if needed, but avoid forcing parts.
Lighting The Heater Safely
Turn the gas valve on slowly. Keep your face and hands away from the burner. Use the ignition button or a long lighter to ignite the flame. Watch for a steady blue flame, which means good combustion. If the flame flickers or goes out, turn off the gas and wait. Try lighting again after a few minutes. Always follow the heater’s safety instructions.
Credit: www.efireplacestore.com
Maintenance Tips
Proper maintenance keeps your patio heater working well and safe. The thermocouple plays a key role in this. It senses heat and controls the gas flow. Cleaning and checking it regularly helps avoid problems and extends the heater’s life.
Regular Cleaning Schedule
Clean the thermocouple every few months. Turn off the heater and let it cool first. Use a soft cloth or fine sandpaper to wipe the thermocouple gently. Remove dirt and debris that may block heat detection. Avoid using water or harsh chemicals. Regular cleaning stops buildup that can cause failure.
Signs Thermocouple Needs Replacement
Watch for these signs. The heater won’t stay lit or goes out often. You hear clicking sounds when trying to light it. The pilot light is weak or flickers. The heater smells gas but does not ignite. These signs mean the thermocouple is faulty. Replace it to keep your heater safe and effective.
Conclusion
Cleaning your patio heater thermocouple keeps it working safely and well. Regular care stops dirt from blocking the flame sensor. Use a soft brush and gentle cleaner for best results. Avoid harsh tools that may damage parts. Check the thermocouple often to catch problems early.
A clean thermocouple helps your heater stay warm and efficient. Simple steps make a big difference in heater performance. Keep your patio warm and enjoy outdoor time without worry.