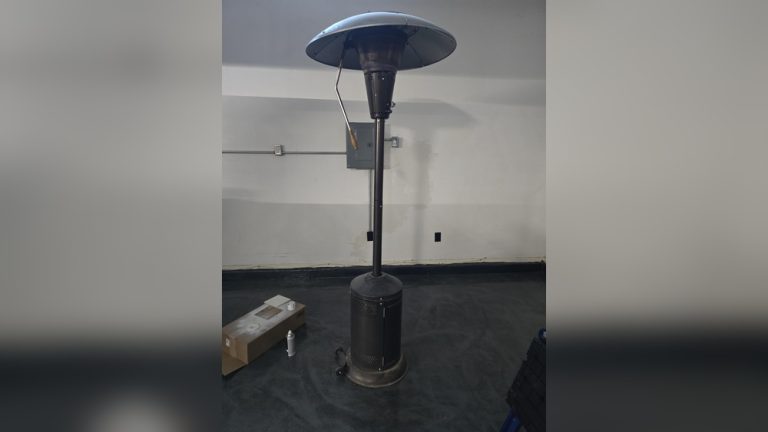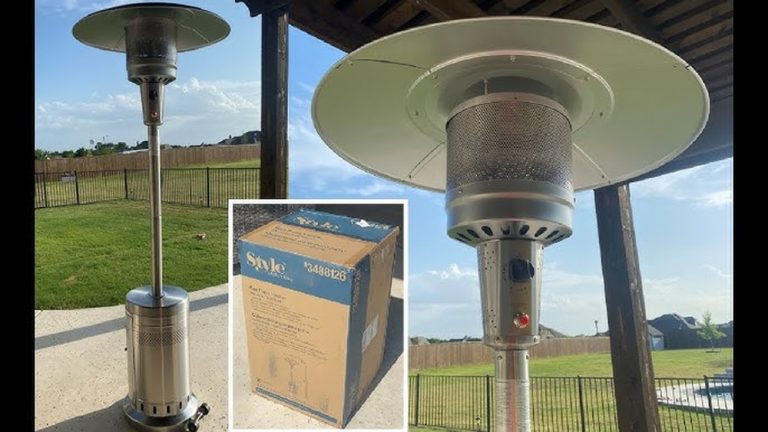
Your patio heater is your best friend on chilly evenings, but if its burner isn’t clean, you might not get the warmth you expect. A dirty burner can cause uneven flames, strange smells, or even stop your heater from working altogether.
You want your heater to run safely and efficiently every time you turn it on. That’s why knowing how to clean your patio heater burner is essential. You’ll discover simple, step-by-step tips that will help you keep your heater in top shape.
Keep reading to learn how easy it is to bring back the cozy heat you deserve.
Tools And Materials Needed
Cleaning a patio heater burner requires specific tools and materials. Having the right items makes the job easier and safer. Preparing these tools before starting saves time and effort.
Protective Gloves
Wear gloves to protect your hands from sharp edges and dirt. Heat-resistant gloves offer extra safety during cleaning.
Soft Brush
A soft brush helps remove dust and debris without damaging the burner. Avoid hard bristles that can scratch the surface.
Compressed Air Canister
Use compressed air to blow out small particles inside the burner. It reaches tight spaces that brushes cannot.
Cleaning Cloths
Microfiber cloths are best for wiping down surfaces gently. They trap dust and avoid leaving lint behind.
Mild Detergent
A mild detergent mixed with water cleans grease and grime effectively. Harsh chemicals can damage the burner.
Wrench Or Screwdriver
These tools help remove screws or bolts holding the burner. Choose the right size to avoid stripping fasteners.
Vacuum Cleaner
A vacuum cleaner with a hose attachment picks up loose dirt and debris. It prevents particles from spreading around.

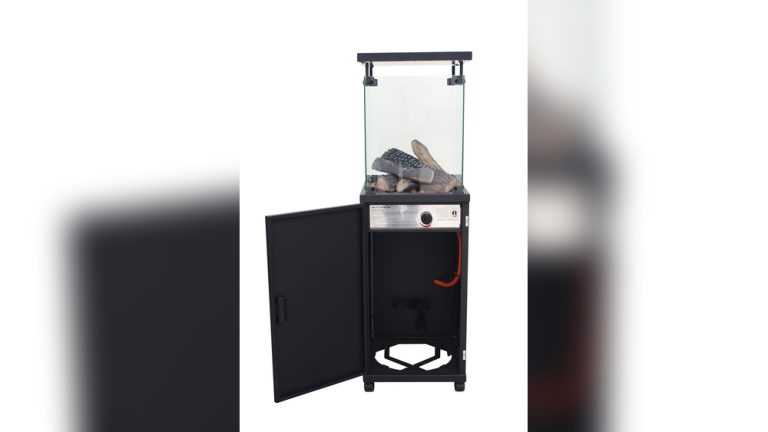
Credit: www.tractorsupply.com
Safety Precautions
Cleaning a patio heater burner can improve its performance and safety. Taking safety precautions protects you and your heater from damage. Always prepare carefully before starting the cleaning process.
Turn Off The Gas Supply
Always switch off the gas supply before cleaning. This stops any gas leaks that can cause fire or explosion. Double-check the valve to make sure it is fully closed.
Allow The Heater To Cool Down
Wait until the heater is completely cool before touching it. The burner and metal parts stay hot for a while. Touching hot parts can cause serious burns.
Work In A Well-ventilated Area
Clean your heater outside or in a space with good airflow. This helps remove harmful fumes and dust. Avoid cleaning in closed rooms to stay safe.
Wear Protective Gear
Use gloves to protect your hands from sharp edges and dirt. Eye protection is important to keep dust and debris out of your eyes. Wearing a mask can prevent breathing in dust particles.
Use Proper Tools
Use soft brushes and cloths to clean the burner gently. Avoid using metal tools that can damage the burner surface. Handle all tools carefully to avoid injury.
Turning Off And Cooling Down
Turning off and cooling down your patio heater burner is the first and most important step before cleaning. It keeps you safe from burns and prevents damage to the heater parts. Always handle the heater with care after use.
Let the heater cool down completely. This may take 30 minutes or longer, depending on the heater size and weather. Never rush this step. Touching hot parts can cause serious injury.
Switching Off The Gas Supply
Start by turning off the gas supply valve. This stops the fuel flow to the burner. It also prevents accidental gas leaks during cleaning. Make sure the valve is fully closed before moving on.
Turning Off The Heater Controls
Next, turn off the control knob on the heater. This stops the ignition and flame. Confirm that the burner is fully off. No heat or sound should come from the heater now.
Waiting For The Burner To Cool
Do not touch the burner right after turning it off. Give it time to cool down. Use a thermometer if unsure. The burner should feel completely cool before cleaning.
Ensuring Proper Ventilation
Place the heater in a well-ventilated area. This helps the heat and gas to disperse quickly. Avoid enclosed spaces. Proper airflow speeds up the cooling process.
Accessing The Burner
Accessing the burner is the first step to clean your patio heater properly. You need to reach the burner safely and easily. This allows you to remove dirt, debris, and blockages that affect performance. Follow simple steps to open the heater and find the burner inside.
Turn Off The Gas Supply
Before you start, make sure the gas supply is off. This prevents accidents while you work. Locate the gas valve near the heater and switch it off. Wait a few minutes to let any gas clear out.
Remove The Heater Cover
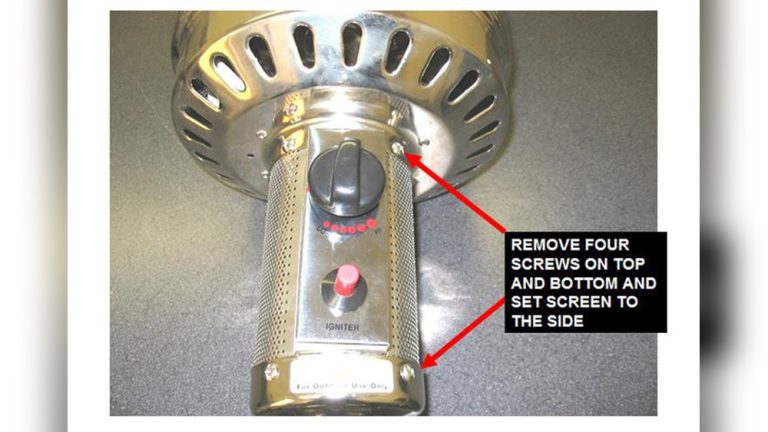
Next, take off the heater cover or protective screen. Most covers have screws or clips holding them in place. Use a screwdriver or your hands to remove these parts carefully. Keep the screws safe for reassembly.
Locate The Burner Assembly
After removing the cover, you will see the burner assembly. It looks like a metal tube with holes for flames. Check for any visible dirt or spider webs that block the holes. This is the part you will clean.
Disconnect The Burner Safely
Some heaters have a burner connected with screws or clips. Loosen these to take the burner out. Be gentle to avoid bending or damaging parts. Keep track of all pieces for easy reattachment.
Removing Debris And Dust
Removing debris and dust from your patio heater burner keeps it working well. Dirt can block the burner holes. This stops the flame from burning evenly. Cleaning helps the heater stay safe and warm.
Start by turning off the heater and letting it cool. Safety first. You don’t want to touch hot parts.
Gathering The Right Tools
Use a soft brush to clean the burner. A vacuum with a brush attachment helps too. Avoid hard tools that can damage the burner. Gloves protect your hands from sharp edges.
Brushing Off Loose Dust
Brush the burner gently. Remove dust and small bits of debris. Pay attention to the burner holes. Clear any blockages for good airflow.
Vacuuming Stubborn Debris
Use the vacuum to suck up dirt stuck in tight spots. Clean around the burner edges carefully. This stops dust from coming back quickly.
Checking For Nests Or Leaves
Look inside the burner for insect nests or leaves. Remove these carefully with your hands or tweezers. These block gas flow and cause problems.
Wiping Down The Surface
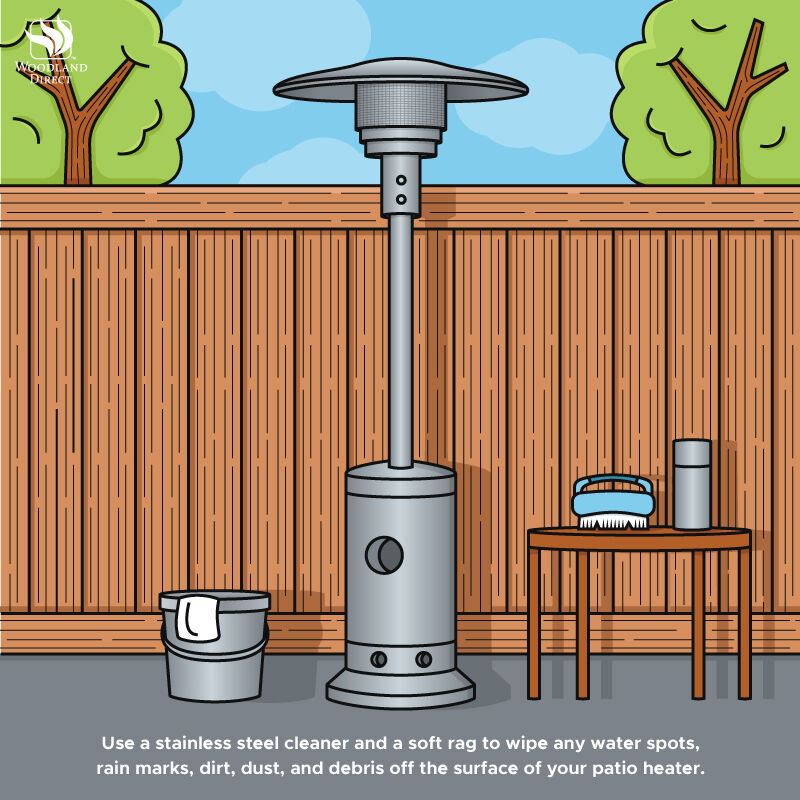
Use a damp cloth to wipe dust from the burner’s surface. Dry it well before using the heater again. Wet parts can cause rust or gas issues.
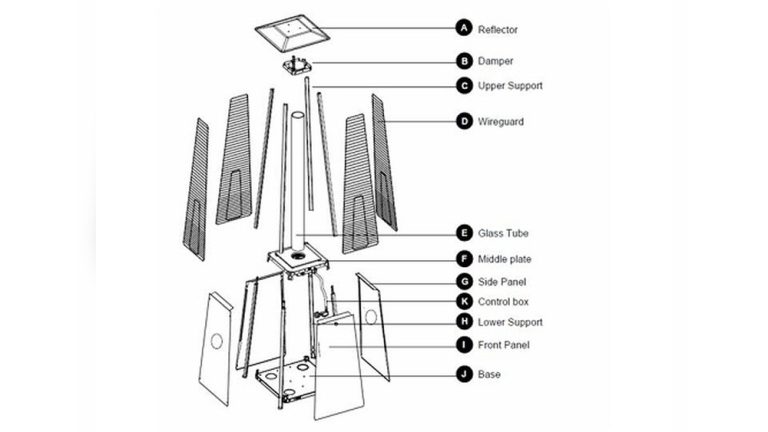
Credit: www.dnabiotec.com
Cleaning The Burner Ports
Cleaning the burner ports is a key step in maintaining your patio heater. These small holes allow gas to flow and ignite the flame. Dirt and debris can block them, causing uneven heat or no flame at all.
Regular cleaning keeps the burner working safely and efficiently. It also extends the life of your heater. The process is simple and does not require special tools.
Gather The Necessary Tools
Start by collecting a soft brush, a thin wire or needle, and a vacuum cleaner. Use a soft brush to avoid damaging the burner. The wire or needle helps clear clogged ports. A vacuum removes loose debris and dust.
Turn Off Gas And Disconnect
Ensure the gas supply is off before cleaning. Disconnect the propane tank or gas line. This step prevents accidents during cleaning. Safety is important and should never be skipped.
Remove The Burner Assembly
Open the heater’s access panel carefully. Locate the burner assembly and remove screws if needed. Take out the burner to reach all ports easily. This allows thorough cleaning without damage.
Clear Blocked Burner Ports
Use the thin wire or needle to gently poke each burner port. Remove any dirt or spider webs blocking the holes. Be gentle to avoid enlarging or damaging the ports. Clean each hole until it is clear.
Brush And Vacuum The Burner
Brush the burner surface to remove loose dirt. Use the vacuum cleaner to suck up dust and debris. This keeps the burner clean and ready to work. A clean burner helps the heater run smoothly.
Reassemble And Test The Heater
Put the burner assembly back in place. Secure it with screws and close the access panel. Reconnect the gas supply carefully. Light the heater and check for even flame and proper function.
Checking For Damage
Checking for damage is a vital step in cleaning your patio heater burner. It helps keep the heater safe and working well. Damage can block gas flow or cause leaks. Catching problems early can save you from costly repairs.
Visual Inspection Of Burner Components
Start by looking closely at the burner and its parts. Check for cracks, rust, or bent areas. Look at the burner holes for clogs or debris. Clean or replace parts that look damaged or worn out.
Checking Gas Connections And Hoses
Examine all gas connections for loose fittings or cracks. Look at the hose for holes or dry spots. Gently wiggle connections to ensure they are tight. Replace any hose that shows signs of wear or damage.
Testing For Gas Leaks
Mix soap and water in a spray bottle. Spray the solution on gas connections and burner joints. Watch for bubbles, which mean a gas leak. Turn off the gas immediately if you see bubbles. Tighten connections or call a professional for help.
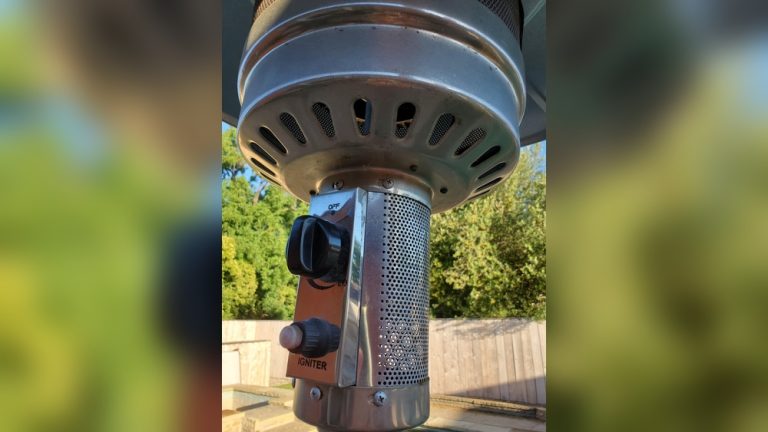
Credit: www.woodlanddirect.com
Reassembling The Heater
Reassembling the patio heater burner is the final step after cleaning. This step ensures the heater works safely and efficiently. Take your time. Make sure each part fits back in the right place. Double-check your work to avoid leaks or malfunctions.
Check All Parts Before Assembly
Look at every component carefully. Make sure none are damaged or dirty. Clean parts will help the heater work better. Replace any broken parts before you start putting things together.
Follow The Correct Order
Put the burner parts back in the order you took them apart. Usually, the burner head goes first, then the burner base. Secure screws and bolts tightly to keep parts stable. Loose parts cause problems later.
Reconnect Gas Lines Safely
Attach the gas lines carefully. Check for cracks or wear before connecting. Tighten all connections but do not over-tighten. Use a soap and water mix to test for gas leaks after assembly.
Test The Heater After Assembly
Turn on the heater in a safe, open area. Watch for any strange smells or sounds. If everything looks good, the heater is ready to use. Turn off the heater and wait before moving it.
Testing The Heater
Testing the heater after cleaning the burner is a key step. It ensures the heater works safely and properly. This step helps catch any issues early. It also confirms the cleaning was effective. Follow these steps to test the heater carefully.
Turn On The Gas Supply
Open the gas valve slowly. Listen for any hissing sounds. This shows gas is flowing correctly. Make sure there is no strong gas smell. If you smell gas, turn off the supply immediately.
Ignite The Heater
Press the ignition button or use a match. Watch the burner light up evenly. The flame should be steady and blue. Yellow or flickering flames may signal a problem.
Check The Flame Pattern
Look closely at the burner flames. Flames should be uniform and bright blue. Small yellow tips can be normal. Large yellow or orange flames mean dirt remains. Adjust or clean the burner again if needed.
Listen For Unusual Sounds
Pay attention to any odd noises. Popping, hissing, or rumbling sounds are warning signs. These noises can mean blockages or leaks. Turn off the heater and inspect the burner again.
Monitor Heater Performance
Let the heater run for 5 to 10 minutes. It should heat the patio area effectively. If it struggles to heat, check the burner and connections. Proper heat means the burner is clean and working well.
Maintenance Tips For Longevity
Proper maintenance helps your patio heater burner last longer. Regular care keeps it working well and safe. Simple steps prevent damage and reduce repair costs.
Follow easy tips to clean and check the burner. This keeps the flame steady and heat strong. A well-kept burner uses fuel better and saves money.
Check For Blockages Regularly
Look inside the burner for dirt or spider webs. Blockages stop gas flow and cause uneven flames. Use a soft brush or compressed air to clear debris. Clean the burner at least once a month.
Clean Burner Holes Gently
Burner holes can get clogged with dust and rust. Use a toothpick or small wire to clear each hole carefully. Avoid using sharp tools that can damage metal. Clean holes improve flame quality and heat output.
Inspect Gas Connections
Check hoses and fittings for cracks or leaks. Tighten loose connections to stop gas leaks. Use soapy water to find leaks—bubbles mean a problem. Fix issues before using the heater again.
Store Properly During Off-season
Cover the heater with a weatherproof cover when not in use. Store it in a dry place to avoid rust and dirt buildup. Remove batteries or gas cylinders to prevent damage. Proper storage extends the life of your burner.
Conclusion
Cleaning your patio heater burner keeps it working well and safe. Regular care helps avoid clogs and uneven flames. A clean burner lasts longer and uses fuel better. Simple steps make the process quick and easy. Take time to clean before and after the season.
Enjoy warm, cozy nights without worries. Your heater will thank you with steady heat. Maintenance is a small effort for great comfort. Keep your outdoor space inviting all year long.